Exploring the WhatsApp Business API: Why WABA is a Must-Have Tool for Business

WhatsApp Business API is a powerful tool designed to help businesses engage with their customers more effectively. It allows for seamlessly integrating WhatsApp messaging capabilities into existing business software and systems. See, for example, how WhatsApp Business API tools can be used to improve productivity and increase the efficiency of the Marketing, Support, Sales service. And this article delves into the WhatsApp Business API, its features, and its potential benefits for business owners.
Meta WhatsApp meaning and Official WhatsApp API
First, a little digression for a deep WhatsApp understanding. Clients are sometimes misled by the term Meta and its association with WhatsApp API integration. The term "From Meta WhatsApp" refers to the company's ownership by Meta Platforms Inc., formerly known as Facebook Inc. The official WhatsApp API is the authorized and approved set of tools and interfaces provided by Meta to facilitate seamless integration between businesses and the WhatsApp messaging platform.
There is still a confusion between the official solution from Meta and gray or unofficial solutions, we have detailed the difference and the history of their confrontation in this article: 1MSG.io — Comparing Official and WhatsApp Business API
It's only $30 for full access to WhatsApp Business API
Chatbots, chatbot builder, inbox chat, automated replies, broadcast newsletters - all included in the $30 price tag
Connect WABABut now to the point, let's understand what the official WhatsApp Business API is all about.
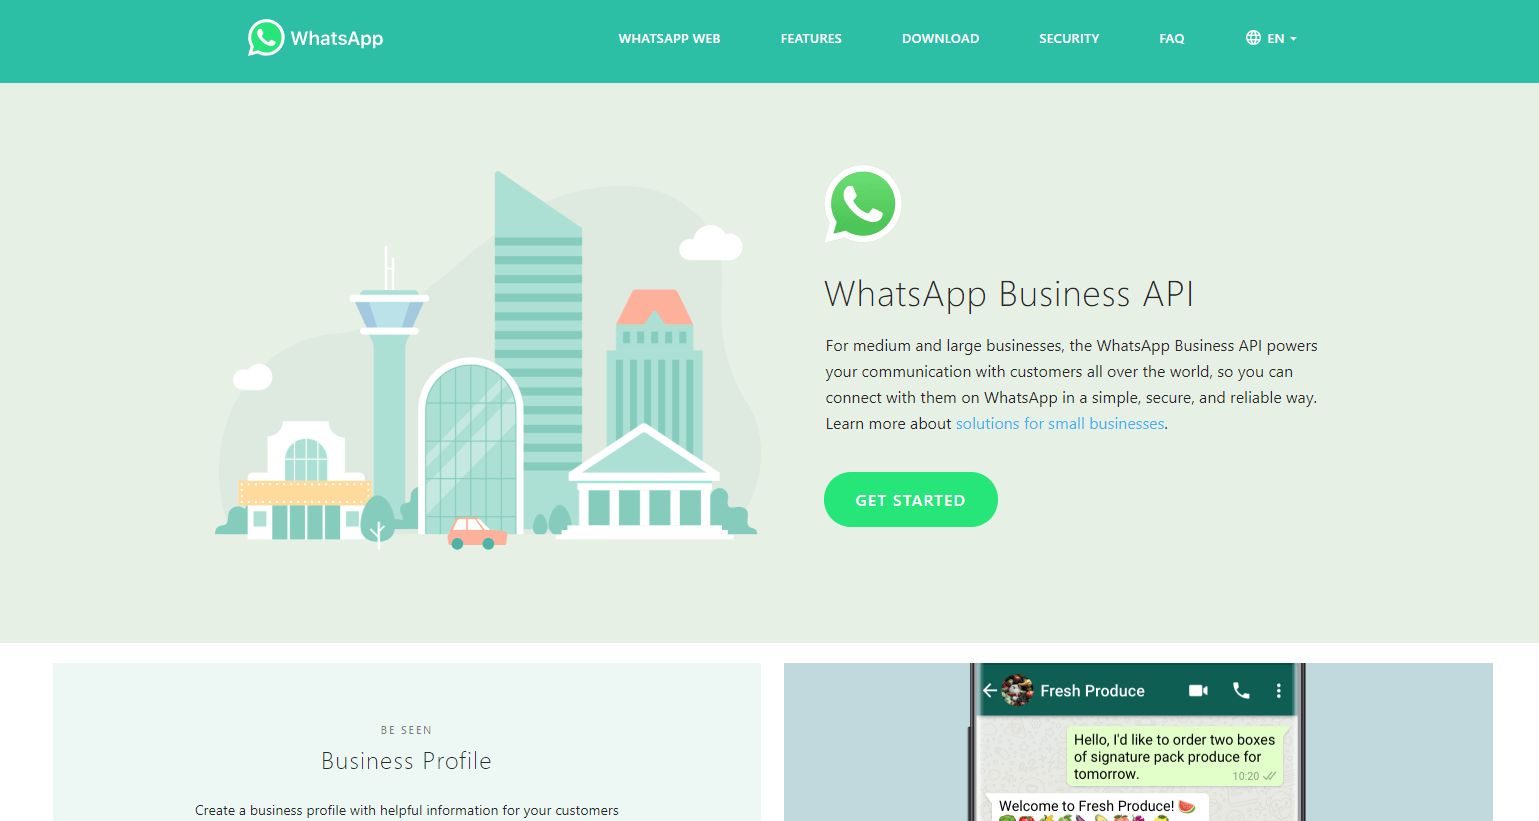
Understanding the WhatsApp Business API
- WhatsApp API: The Application Programming Interface (API) enables developers to integrate WhatsApp messaging features into their apps and services.
- WhatsApp Business API: A specialized API designed to cater to the needs of business owners, allowing for efficient communication with customers using the popular messaging platform.
- Meaning of user-defined in WhatsApp: Customizable settings and preferences tailored to individual users, enhancing the overall user experience.
The WhatsApp Business API allows businesses to communicate more efficiently with customers, automate responses, and provide customer support directly through the popular messaging platform.
Businesses can send and receive messages, images, videos, and documents using the WhatsApp Business API, allowing for rich and engaging communication with customers. The API also supports quick and predefined responses that help businesses promptly answer frequently asked questions and improve customer satisfaction.

The WhatsApp Business API is especially beneficial for businesses that require a high volume of customer interactions, as it streamlines communication, making it easier for businesses to manage and respond to customer inquiries and support requests.
The most important advantage of WhatsApp Business API is the ability to automate business operations.
Features and benefits of WhatsApp Business API
- What is Business WhatsApp: A dedicated platform for businesses to manage customer interactions and provide customer support through WhatsApp messaging.
- WhatsApp Business API integration: Integration with existing business software allows for better customer service and streamlined communication. Here you will find our documentation to familiarize yourself with the integration possibilities.
- Quick replies: Businesses can use pre-defined responses to answer frequently asked questions, improving response times and customer satisfaction.
- Business messaging: Send and receive messages, images, videos, and documents to enhance customer communication.
- Customer service: Provide real-time support and resolve customer queries efficiently.
- WhatsApp Business Account: A specialized account for businesses to manage customer interactions on the platform.
The WhatsApp Business API can help businesses across various industries by streamlining communication, improving customer support, and fostering customer loyalty. You can also use the WhatsApp Business API to send bulk messages on WhatsApp, but for this you will need a special tool, for example, you can use our service for Bulk Senders. Here are some examples of how the API can benefit different types of businesses:
WhatsApp Business API paid intruments, but with 1msg.io you can ecnomize more. If you want to know what the price of WABA is, check out our article: 1MSG.io — WhatsApp Business API Payment model.
E-commerce and Retail:
- Order updates: Notify customers about the status of their orders, such as shipping and delivery updates, using automated messages.
- Customer inquiries: Respond to questions about product availability, sizes, colors, and other product-related details.
- Sales promotions: Share exclusive offers, discounts, and new product launches with customers through personalized messages.
- Catalog sharing: Showcase products through WhatsApp's catalog feature, allowing customers to browse and purchase directly from the app.
You can significantly increase your sales efficiency if you set up automated replies or a salesy chatbot script for your WhatsApp.

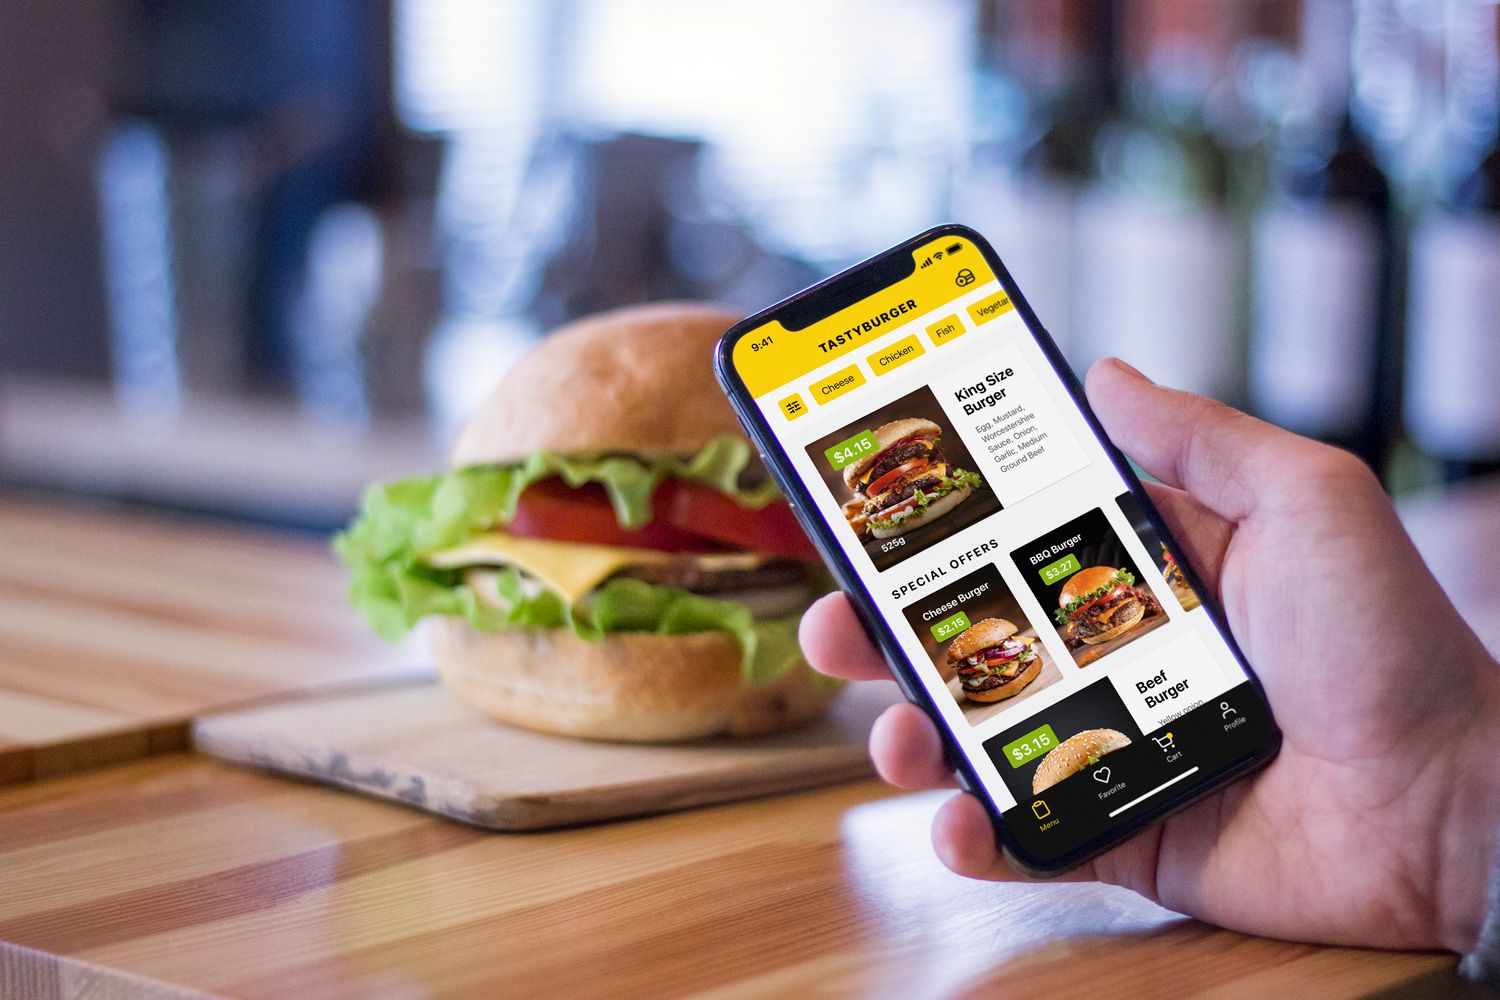
Restaurants and Food Delivery Services:
- Food ordering: Enable customers to place orders through WhatsApp, making the process quick and easy.
- Reservation confirmations: Send reservation confirmations and updates directly to customers' inboxes.
- Special offers: Share exclusive deals and promotions to entice customers to dine at your establishment or order food for delivery.
- Menu sharing: Provide customers with digital menus and allow them to ask questions about ingredients or dietary restrictions.
In your personal 1msg.io account you can find already ready-made scenarios for restaurant operations; all you have to do is register.
Why installing WABA is the right choice for your business
- Expansive user base: With over 2 billion users, WhatsApp offers a vast pool of potential customers for your business to tap into.
- Cost-effective: Compared to traditional communication channels, WABA offers an affordable and effective solution to engage with customers. We wrote about how and what WhatsApp price is made up of, as well as why 1msg.io will provide you with the most cost-effective WhatsApp connection here.
- Familiar platform: Customers are more likely to engage with businesses on a platform they already use and trust, such as WhatsApp.
- Enhanced customer experience: WABA allows businesses to provide personalized and prompt customer support, improving customer satisfaction and brand loyalty.
How WABA benefits different types of businesses
- Small and medium-sized businesses: WABA enables SMEs to compete with larger companies by providing a professional and efficient communication channel.
- Large enterprises: WABA can be scaled to handle high volumes of customer interactions, making it suitable for larger businesses with extensive customer bases.
- E-commerce and retail: WABA helps businesses to showcase their products and services, process orders, and provide customer support, all within the WhatsApp platform.
Getting started with 1msg.io WhatsApp Business API
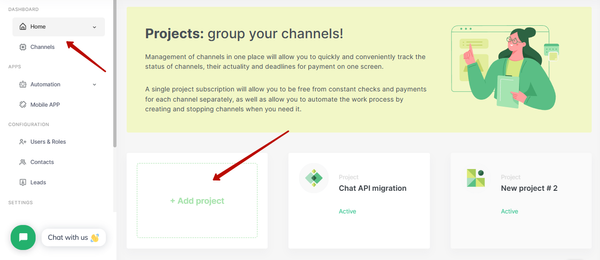
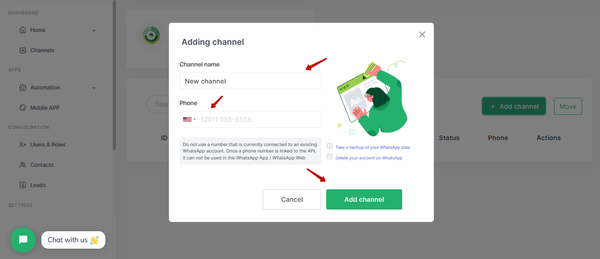
To start using the latest version of WhatsApp Business API with all the available benefits, you need to register at 1msg.io. and connect your WhatsApp Business API number, here are the instructions to help you do it:
- Register at 1msg.io.
- Open a new WABA project.
- Connect your WhatsApp number to WhatsApp Business API.
- You will need an account in Meta Business manager to successfully connect the number. You can create it in advance, or it will be created in the process of connecting the number. Connecting the number is fast, our tips on the website will help you connect the number in just 10 minutes.
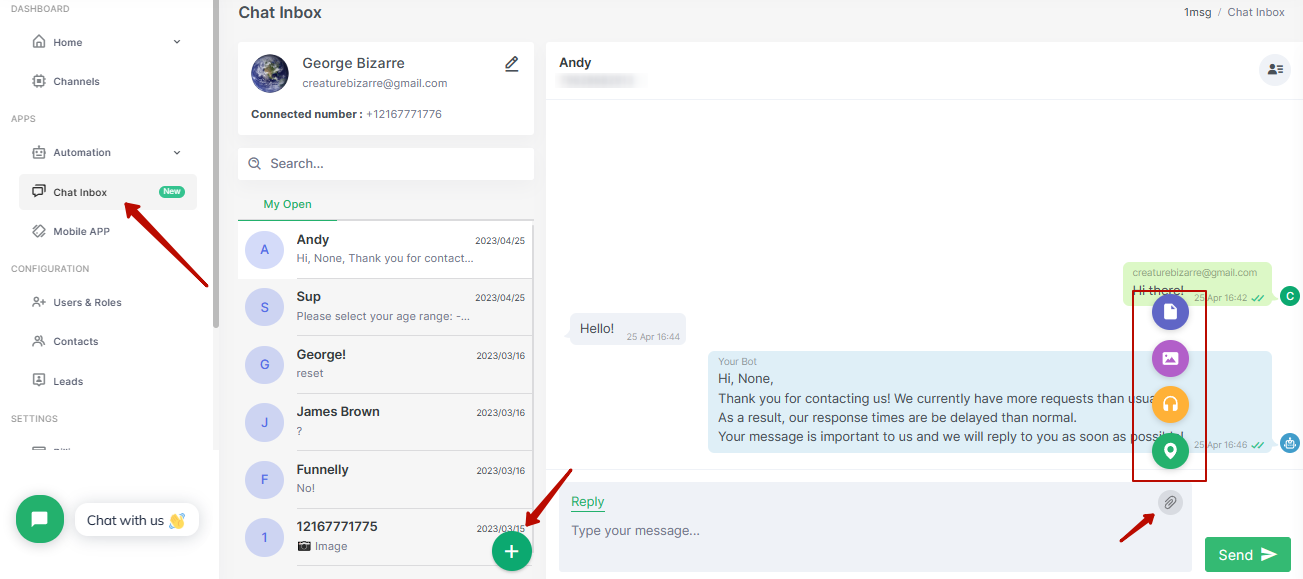
After connecting the number to WhatsApp Business API, you will no longer be able to use the number in regular WhatsApp and WhatsApp Business applications, but we immediately open Inbox chat, Automation tools and Chatbot builder on WhatsApp Business API number for our customers. It is available immediately and you don't have to pay extra for access to it.
WhatsApp Business API access opens after registering your account in Meta, and you will have an active WhatsApp Instance ID in your personal account. When WhatsApp started to open access to the official WhatsApp API, the procedure of accessing the WhatsApp interface was complicated and long; now, if you already have Meta Business Manager, it takes no more than 5-10 minutes to connect the number. One of the most demanded tools after connecting WhatsApp Business API is a chatbot, why this is so and how it can help you in business, we wrote in this article: WhatsApp Chatbot: Customer Engagement for Businesses.
WhatsApp Business API: associated phone number
Your WhatsApp Business API account must be linked to a phone number. This phone number, connected to the WhatsApp Business API, must be capable of receiving calls or SMS since OTP verification via SMS is required.

1msg.io recommends using a phone number not already associated with another WhatsApp Messaging app or WhatsApp Business App account. While it is possible to migrate a phone number from the App to the API, WhatsApp does not permit reverting from the API back to the App.
WhatsApp Business API Distributors: Business Solution Providers (BSPs)
The business API platform is currently not accessible to all businesses. Meta has handpicked 40-50 third-party solution providers to disseminate the WhatsApp Business API to a broader range of enterprises.
BSPs deliver WhatsApp APIs to companies, enabling them to create customized solutions using these APIs. BSPs can support businesses in connecting with their customers through WhatsApp APIs for sanctioned use cases, such as customer assistance and timely, tailored notifications.
We also provide an API in conjunction with a Business API provider, so you get the official WhatsApp Business API with ready-to-use tools to automate your WhatsApp business.
Conclusion
The WhatsApp Business API is an indispensable tool for businesses looking to enhance customer engagement, streamline communication, and improve customer satisfaction. By installing WABA, your business can leverage the popularity and convenience of WhatsApp to create meaningful connections with customers and drive growth. Don't miss out on the opportunity to elevate your business communication to new heights – embrace the power of the WhatsApp Business API today.